Recent Questions
Q: I never had trouble with your other scripts but Deluxe Tuner is very difficult and I am about to give it up.
I am trying to set up a new navigation bar using vista 3-1. If I add another Vista drop down menu buttons, they have a completely different look to the ones with the templates. It makes no sense.
How do I add items and have it remain the same look?.
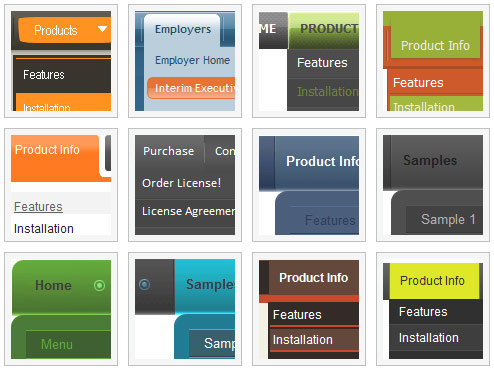
A: See, in Vista style templates we use Individual Item Styles for thetop items.
For, example select the first item on the main window.
In the "Item Parameters" window you can see Individual Styles assignedfor this item:
Item Style - Top Item
Submenu Style - Top Menu
When you add the new item you should assign Individual Styles for itin the same way.
That is all.
Q: I would like to make the main bar for the menu javascripts more consistent in the spacing.
A: Try to set exact width for each top menu item using Individual Styles:
var itemStyles = [
["itemWidth=131px"], //style0
];
var menuItems = [
["home","", "", "", "", "", "0", "", "", "", "", ], //style0
["artist index","", "", "", "", "", "0", "", "", "", "", ], //style0
["the gallery","", "", "", "", "", "0", "", "", "", "", ], //style0
];
Q: I will build menu for several books’ Contents, each book is more than 100 lines and has links. I think if all the books’ contents in 1 *.JS file then it is TOO LOONG!!.
Can I break it down to 1 book for 1*.JS ? How?
A: You cannot divide your menuItems parameter.
You can only use one .js file for your menu parameters and the other.js file for your menuItems = [...];
But you can do it in two ways.
1) You can try to use several menus on the one page, for example:
param.js // file with menu parameters (all parameters before menuItems = [...];)
menu1.js // menuItems for "AC-DC", "ANLOG"
menu2.js // menuItems for "DIGITAL", "WinXP"
menu3.js // menuItems for "MS-Word", "MS-Excel"
In these menu files you should write
menuItems = [
...
];
dm_init();
Then you should install your menu in the following way
<script type="text/javascript" src="param.js"></script>
<table>
...
<script type="text/javascript" src="menu1.js"></script>
...
<script type="text/javascript" src="menu2.js"></script>
...
<script type="text/javascript" src="menu3.js"></script>
But it will be easier to use vertical menu in such case
var isHorizontal=0;
var smColumns=1;
2) You can also try to add some code, see the attached example.
In the first file (@MY books (Multiple Col.js) I write menuItems for the first item "AC-DC".
Notice that you should delete comma at the end of the last item
var menuItems = [
["AC-DC","", , , , , , , , ],
["|@Book1","testlink.htm", , , , , , , , ],
...
["|@Book3","", , , , , , , , ],
["||CH02","", , , , , , , , ],
["||CH01","", , , , , , , , ] // delete comma at the end of the last item
];
In the second file (@MY books (1.js) you should write
menuItems = menuItems.concat(
[
["ANLOG","", , , , , , , , ],
["|@Book1","", , , , , , , , ],
["|@Book2","", , , , , , , , ],
["|@Book3","", , , , , , , , ] // delete comma at the end of the last item
]
);
In the third file (@MY books (2.js) you should write
menuItems = menuItems.concat(
[
["DIGITAL","", , , , , , , , ],
["|Item 1332","", , , , , , , , ],
["WinXP","", , , , , , , , ],
["|Item 1333","", , , , , , , , ],
["MS-Word","", , , , , , , , ],
["|Item 1334","", , , , , , , , ],
["MS-Excel","", , , , , , , , ],
["|Item 1335","", , , , , , , , ] // delete comma at the end of the last item
]
);
dm_init();
Notice that you should write dm_init(); function in the last file.
In the .html file you should write
...
<tr>
<script type="text/javascript" src="@MY books (Multiple Col.js"></script>
<script type="text/javascript" src="@MY books (1.js"></script>
<script type="text/javascript" src="@MY books (2.js"></script>
</tr>
I hope you understand me.
Q: Our company bought the deluxemenu bundle about one year ago.
We were wondering is there any api for the deluxmenu js tabs available?
We would need to programatically open a particular tab.
A: No, unfortunately Deluxe Tabs doesn't support API functions now.
You can use the following function to open specific tab:
dtabs_itemClick(menuInd,itemInd);
where
menuInd - index of a tab menu on a page, >= 0.
itemInd - index of a item, >=0.
For example:
<DIV onClick="dtabs_itemClick(0,2)" style="width: 200px; border: 2px solid #000;">Click to open the third tab</DIV>

