Recent Questions
Q: We are using your deluxe menu on our live site, but I have a question about the initial setup of the menu.
I need to update the site and a create a new version where the Deluxe Menu is painted, but not initially displayed until the user has been validated. We are runing the entire site from a single page with multiple iFrames. I have been using the code document.getElementById('dm0m0').style.visibility = "hidden"; to hide the menu during startup, but I would rather have the floating menu hidden initially and then displayed as the user is validated and gain access to the functionality.
So the question is: Is there a property in the data.js file - or any other file - where the menu can be hidden initially until needed?
A: You can hide the menu onloaddocument.getElementById('dm0m0').style.visibility = "hidden";
And then show the floating menu when your user will be validated.
Q: I'm having a major problem centering html menu navigation in a table.
No matter what I try, the menu stays on the left ofthe table.
Do you have any suggestions?
A: To center the menu on your html page you should set the following
parameter and install the menu in the following way:
var absolutePos=0;
<div align=center>
<script type="text/javascript" src="deluxe-menu/dmenu.js"></script>
</div>
<table width=800>
<tr>
<td align=center width=600><script type="text/javascript" src="data/data.js"></script></td>
</tr>
</table>
Q: Some menu entries may be disabled and clicking on them should produce predefined javascript alert message?
A: To create disabled items you should set "_" symbol in the targetparameter of the menuItems.
If the target is "_" the item is disabled.
You can assign a font color for all disabled items using the following menu parameter:
var fontColorDisabled = "#AAAAAA";
You can write a javascript code instead of an item link:
["item text", "javascript:alert('Hello World')", , , ,"_",]
That's all.
Q: I don't understand how may I include content in each js tab, may you send to me examples or more information??
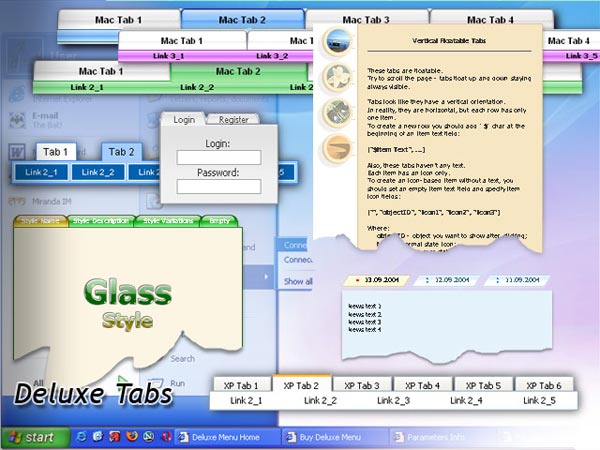
A: See in Deluxe Tabs there are two modes:
1. var tabMode=0;
You can create only one level of tabs and assign Object Id's of theDIV's to show when you click on the js tab.
["XP Tab 1","content1", "", "", "", "", "", "", "", ],
["XP Tab 2","content2", "", "", "", "", "", "", "", ],
["XP Tab 3","content3", "", "", "", "", "", "", "", ],
["XP Tab 4","content4", "", "", "", "", "", "", "", ],
You should paste your content in the <div> .. </div> tags.
<div id="content1" style=" visibility: hidden;" class="tabPage">
<br><br><br>
<p align=center><img src="img/logo_DM.gif" width=262 height=56 alt="Deluxe-Menu.com"></p>
</div>
<div id="content2" style="visibility: hidden;" class="tabPage">
<br><br><br>
<p align=center><img src="img/logo_DT.gif" width=262 height=56 alt="Deluxe-Tree.com"></p>
</div>
<div id="content3" style=" visibility: hidden;" class="tabPage">
<br><br><br>
<p align=center><img src="img/logo_DTabs.gif" width=254 height=58 alt="Deluxe-Tabs.com"></p>
</div>
2. var tabMode=1;
You can assign only links in this mode.
You should create top level items with subitems.
["XP Tab 1","", "", "", "", "", "", "", "", ],
["|Link 1_1","http://deluxe-tabs.com", "", "", "", "", "0", "", "", ],
["|Link 1_2","testlink.htm", "", "", "", "", "0", "", "", ],
["|Link 1_3","testlink.htm", "", "", "", "", "0", "", "", ],
["|Link 1_4","testlink.htm", "", "", "", "", "0", "", "", ],
["|Link 1_5","testlink.htm", "", "", "", "", "0", "", "", ],
["XP Tab 2","", "", "", "", "", "", "", "", ],
["|Link 2_1","testlink.htm", "", "", "", "", "0", "", "", ],
["|Link 2_2","testlink.htm", "", "", "", "", "0", "", "", ],
["|Link 2_3","testlink.htm", "", "", "", "", "0", "", "", ],
["|Link 2_4","testlink.htm", "", "", "", "", "0", "", "", ],
["|Link 2_5","testlink.htm", "", "", "", "", "0", "", "", ],
["XP Tab 3","", "", "", "", "", "", "", "", ],
["|Link 3_1","testlink.htm", "", "", "", "", "0", "", "", ],
["|Link 3_2","testlink.htm", "", "", "", "", "0", "", "", ],
["|Link 3_3","testlink.htm", "", "", "", "", "0", "", "", ],
["|Link 3_4","testlink.htm", "", "", "", "", "0", "", "", ],
["|Link 3_5","testlink.htm", "", "", "", "", "0", "", "", ],
You can use Object ID as well as Link in both modes. Use the following prefixes within item's link field:
"object:" - means that there is object id after it;
"link:" - means that there is a link after it.
"javascript:" - means that there is a javascript code after it, for example:javascript:alert(\'Hello!\')
So, you should write for example:
["|Link 1_1","object:Content1_1", "", "", "", "", "0", "", "", ],